How to Install Low Profile Underfloor Heating | Expert UK Guide
The Complete UK Guide for Efficient, Space-Saving Warmth
Introduction: Why Choose Low Profile Underfloor Heating?
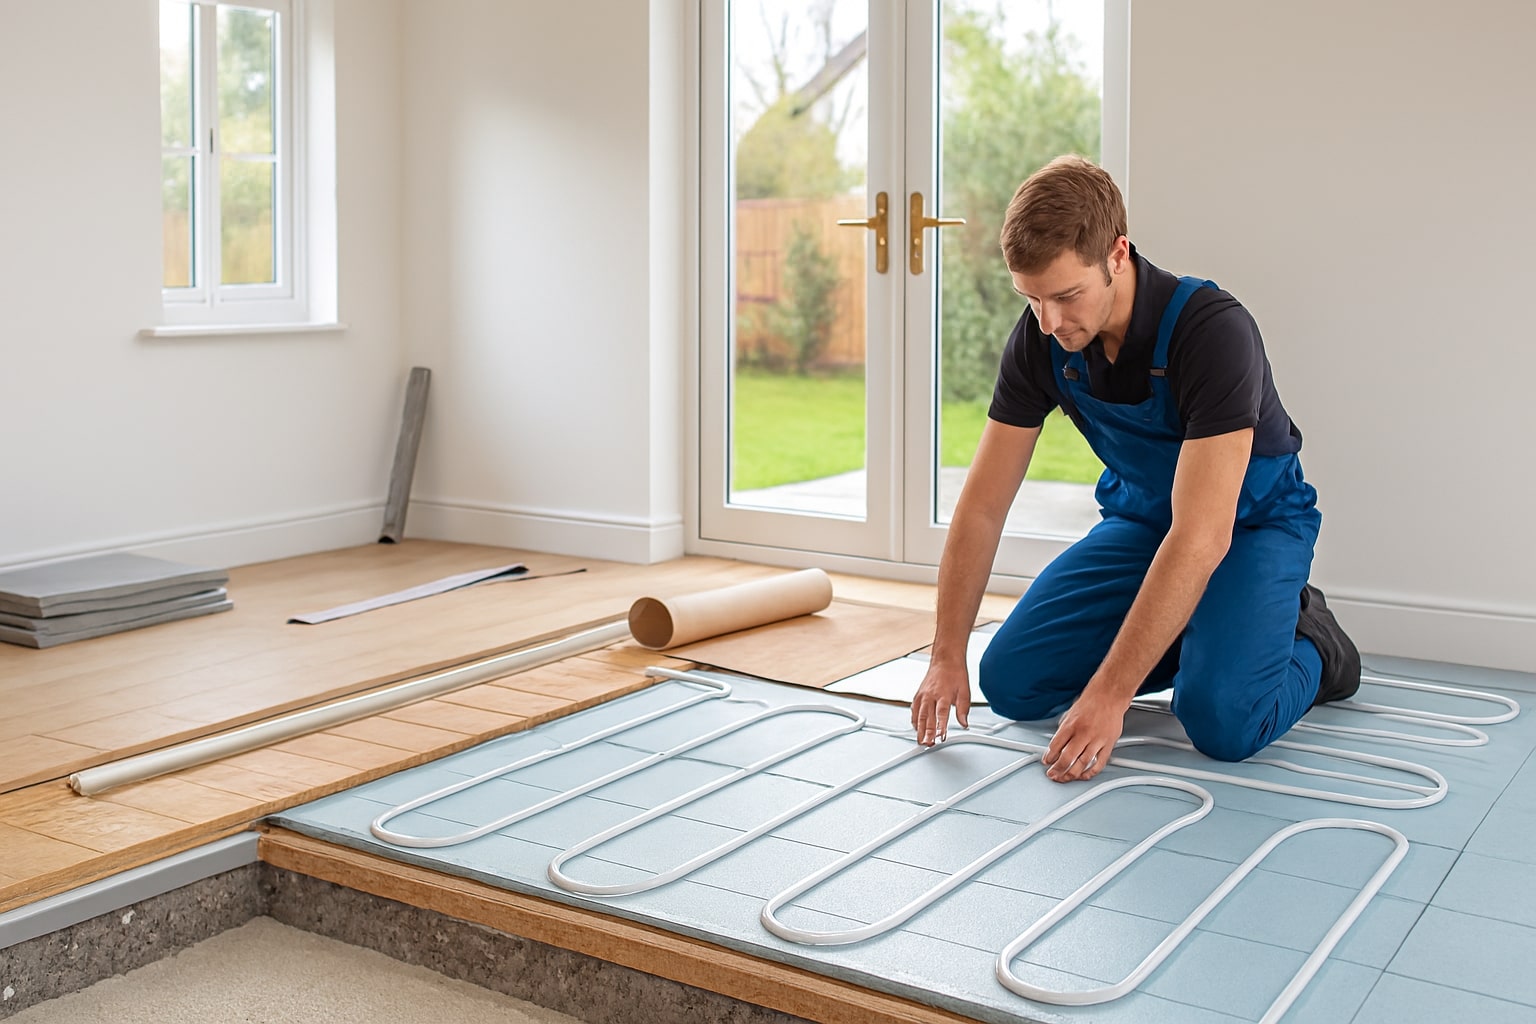
Low profile underfloor heating (UFH) systems have become the go-to solution for UK homeowners looking to retrofit modern heating into older or space-limited homes. With build-up heights as low as 15mm, these systems are ideal for renovations where raising floor levels is a concern — especially in properties across Grays and the wider UK.
This guide walks you through the full installation process, from floor prep to final testing, helping homeowners and tradespeople install with confidence while avoiding costly mistakes.
What Is Low Profile Underfloor Heating?
Low profile UFH refers to underfloor heating systems designed to fit within slim build-ups — typically between 15mm and 20mm — without the need to dig up floors. These systems are often pre-routed boards, castellated panels, or insulation-backed sheets that accept flexible pipework for warm water circulation.
Key Benefits:
- Perfect for retrofits: No major excavation required
- Fast heat-up times due to proximity to surface
- Improved energy efficiency when combined with modern controls
- Compatible with most floor coverings (tile, vinyl, engineered wood)
Read more: How Much Does Electric Underfloor Heating Cost? A Complete UK Homeowner’s Guide
Step-by-Step: How to Install Low Profile Underfloor Heating
Whether you’re a seasoned installer or a confident DIYer, here’s the full breakdown of the installation process.
1. Assess Subfloor Type and Suitability
Before ordering materials, determine the base you’re working with:
- Concrete subfloors may need priming or levelling
- Timber floors should be checked for flex — reinforce as needed
- Existing tiled floors can sometimes be overlaid directly if level
🔧 Pro Tip: Always ensure the subfloor is clean, dry, and flat (within 5mm over 2m) to avoid hot spots or inefficiency.
2. Choose the Right Low Profile System
Options include:
- Pre-grooved insulation boards (for straight pipe routing)
- Castellated panels (with clips to hold pipe in place)
- Foiled overlay systems (enhanced heat distribution)
💡 Use our expert comparison guide to match the best system to your floor type.
3. Mark Pipe Layout and Zones
Plan your zones to ensure even coverage:
- Maintain 100mm–150mm pipe spacing for optimal output
- Avoid running pipes under fixed units (e.g., kitchen islands)
- Position flow/return manifold centrally if possible
⚠️ Leave a 100mm expansion gap at room edges — essential for surface-mounted board systems.
4. Lay Insulation or Boards
Install boards based on your chosen system:
- Adhesive-backed boards: Peel and stick to the substrate
- Screwed boards: Fix using self-tapping screws (especially on timber)
- Seal all joints with foil tape to prevent heat loss
If using castellated panels, secure panels in place, aligning rows properly for pipe runs.
5. Install the Pipework
- Start at the manifold and lay pipe into channels or castellations
- Use continuous loops — avoid joins under the floor
- Fix pipe using clips, staples, or tape (depending on system)
✅ Recommended Pipe: 12mm or 16mm PEX or PERT pipe compatible with low-profile designs
6. Pressure Test the System
Before applying any cover:
- Fill the system with water
- Perform a pressure test (usually at 6 bar for 30 minutes)
- Check for leaks or pressure drops
🛠️ Do not skip this step — even the smallest leak can ruin flooring later.
7. Apply Floor Covering
Choose a compatible finish:
- Tiles: Install over decoupling membrane with flexible adhesive
- Vinyl: Use an approved smoothing compound over the boards
- Engineered wood: Float or glue down based on supplier guidelines
🔥 Note: Avoid solid wood over UFH — it can warp due to heat cycling.
FAQs: Common Pain Points Solved
Q: Can I use low profile UFH in bathrooms?
Yes — but use moisture-resistant boards and ensure proper tanking.
Q: Do I need a special thermostat?
Yes — a dedicated UFH thermostat with floor probes ensures optimal performance and energy savings.
Q: How long before I can turn on the heat?
Wait at least 7 days after installing adhesive or compound layers to let them cure completely.
Compliance & Best Practices
Low profile underfloor heating systems should be installed in accordance with:
- BS EN 1264: Standards for water-based surface heating
- Part L Building Regulations: For energy efficiency
- Manufacturer instructions — always follow the specific product guide
🔍 Looking for certified installers? Contact our expert team for recommendations in Grays and across the UK.
Final Thoughts: Why Low Profile UFH Is the Smart Choice
Low profile underfloor heating offers a smart, space-saving, and energy-efficient alternative to traditional radiators — especially in retrofit or renovation scenarios.
Whether you’re fitting out a Victorian terrace in Essex or upgrading a modern flat in Manchester, choosing the right system and following best practices ensures long-term performance and comfort.
Ready to upgrade your heating?
👉 Shop our full range of low-profile underfloor heating systems
👉 Need installation support? Contact us for expert advice.