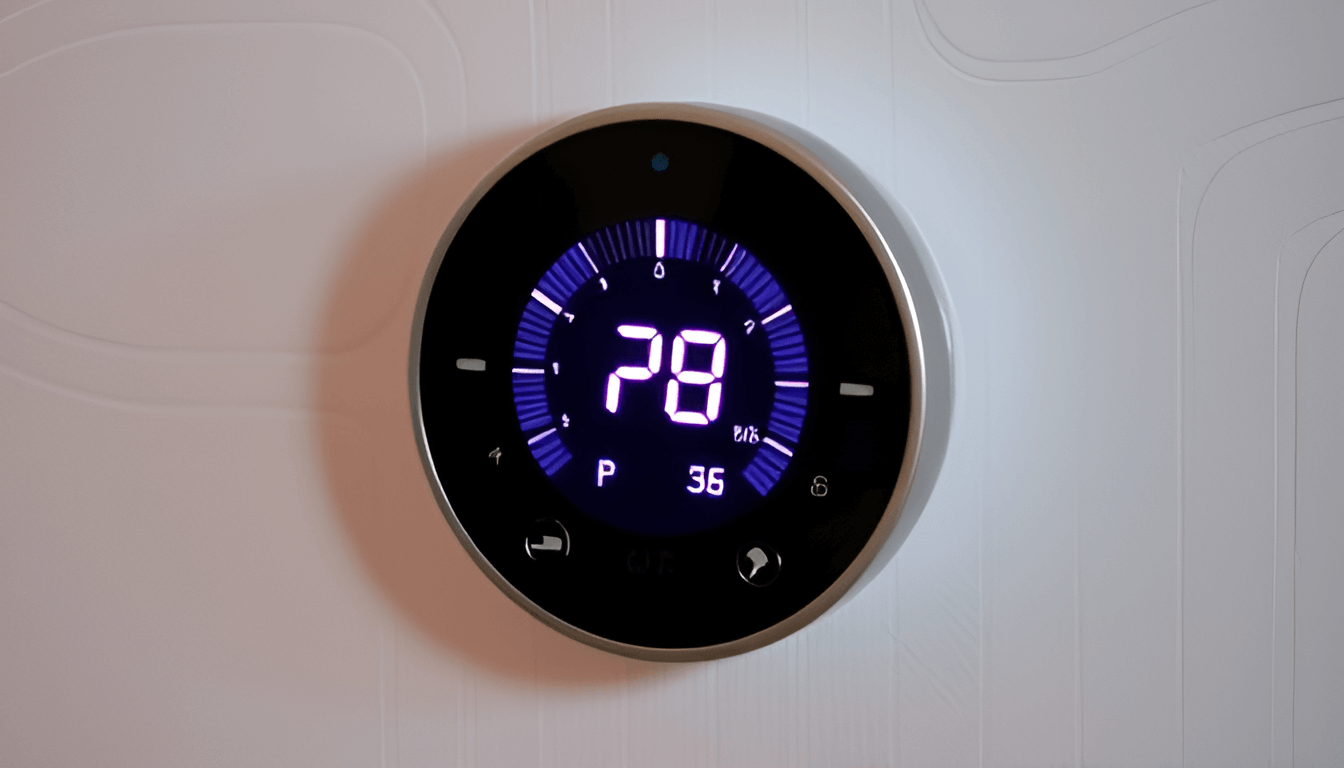
How to Install an Electric Underfloor Heating Thermostat (UK Guide)

Installing an electric underfloor heating thermostat isn’t just about setting a comfortable temperature—it’s a step toward energy efficiency, smart home integration, and long-term cost savings. If you’re a UK homeowner or renovator looking to take control of your heating system, this step-by-step guide breaks down everything you need to know.
🔧 Why the Right Thermostat Matters
A thermostat is the control hub of your underfloor heating system. The right one will:
- Optimize energy use
- Reduce heating bills
- Extend system lifespan
- Improve comfort with smart automation
Whether you’re retrofitting a small bathroom or upgrading a full-home setup, choosing and correctly installing the right thermostat is crucial.
📦 Tools & Materials You’ll Need
Before starting, make sure you have:
- Compatible electric underfloor heating thermostat
- Electrical back box (47mm recommended)
- Screwdrivers (flathead and Phillips)
- Wire strippers
- Voltage tester
- Wall fixing plugs and screws
- Access to your consumer unit (fuse board)
⚠️ Safety First: If you’re not Part P certified or unsure about wiring, always consult or hire a qualified UK electrician. DIY work on fixed wiring may breach building regulations.
🔍 Step 1: Choose the Right Thermostat Type
There are three main types of electric underfloor heating thermostats in the UK market:
| Type | Features | Best For |
| Manual | Simple dial control, no programming | Small spaces, budget installations |
| Programmable | Set time/temperature schedules | Bathrooms, kitchens, busy households |
| Smart WiFi | App control, remote access, energy reports | Modern homes, smart energy management |
👉 Popular UK options: Heatmiser neoStat, Warmup 4iE, ProWarm ProTouch.
🛠️ Step 2: Prepare the Wall Box
- Switch off power at the mains.
- Use a voltage tester to ensure wires are not live.
- Mount a deep 47mm electrical back box in the desired location, ideally 1.2m above floor level for accurate readings.
- Drill and fix the box securely.
🔌 Step 3: Understand the Wiring Connections
Your electric thermostat typically connects:
- Live (L) – brown
- Neutral (N) – blue
- Earth (E) – green/yellow
- Load wires – from your heating mat or cable
- Floor probe – provided with most thermostats, placed inside conduit
💡 Pro Tip: Always use the wiring diagram included with the thermostat. UK wiring colours and codes must be followed per BS 7671.
🧰 Step 4: Install the Floor Sensor
- Feed the floor probe (sensor) through the provided conduit under the floor.
- Place it centrally between two heating cables/mats, avoiding overlap.
- Ensure the conduit is sealed and accessible for future replacement.
This sensor ensures your thermostat accurately measures floor temperature, preventing overheating and improving efficiency.
🔗 Step 5: Connect the Wires
With the power off and following your model’s instructions:
- Connect Live and Neutral from the mains supply.
- Connect Live and Neutral load wires to the underfloor heating system.
- Insert the floor sensor into the designated terminal.
- Ground the Earth wire if required.
Double-check all terminals are tight and correctly inserted. Loose wiring can cause faults or damage the device.
🔄 Step 6: Test and Configure
- Restore power at the mains.
- Use the thermostat’s interface to:
- Set the heating mode (floor or air)
- Configure temperature limits
- Set a schedule (for programmable/smart models)
- Pair with WiFi or smart home system (if applicable)
Monitor for the next few hours to ensure the system is heating and the floor warms up as expected.
📉 Energy Saving Tips
Maximise the benefits of your thermostat with these tips:
- Set a lower temperature overnight or when away (16–18°C)
- Use zoning to heat only the rooms in use
- Choose adaptive smart thermostats to learn your schedule
- Keep floor probe settings at sensible max temperatures (27–29°C)
According to Energy Saving Trust UK, smart controls can reduce heating costs by up to £75/year.
🔍 Common Installation Mistakes to Avoid
❌ Ignoring UK building regulations
❌ Incorrect sensor placement
❌ Wiring without isolating power
❌ Overloading the thermostat’s rated capacity
❌ Skipping compatibility checks between heating system and thermostat
✅ Final Checks & Compliance
- Ensure thermostat is CE marked and UKCA compliant
- Retain documentation for Part P building control (especially for new circuits)
- If needed, register work with NICEIC or other registered body
🛒 Where to Buy Electric Underfloor Heating Thermostats in the UK
Looking for quality, budget-friendly options? Check these trusted UK retailer:
- The Underfloor Heating Store – Wide range of brands and models
📣 Final Thoughts
Installing an electric underfloor heating thermostat in the UK is a manageable DIY project for confident homeowners—but it requires precision, awareness of building codes, and choosing the right device for your home’s needs. With the right thermostat, you’ll enjoy energy savings, modern convenience, and a comfortably warm home all year round.
